Installation
1. In your Admin panel, go to Appearance > Themes and click the Add New button.
2. Click Upload Theme and Choose File, then select the theme’s .zip file. Click Install Now.
3. Click Activate to use your new Theme right away.
or
1. Unzip .zip file and FTP it to your hosting server under wp-content/themes/ of your WordPress installation directory.
Theme`s Requirements
1. Theme uses custom resolution for displaying the images. To make sure the Images already uploaded are displayed correctly install and run Regenerate Thumbnails plugin.
2. Contact Form 7 plugin is required to display Contact Form correctly.
Theme Basic Setup
Menus Setup
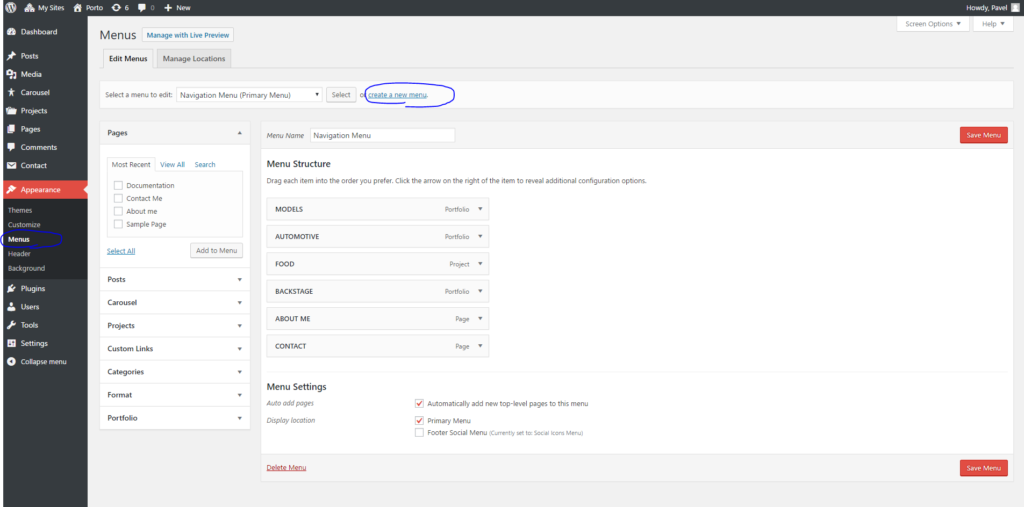
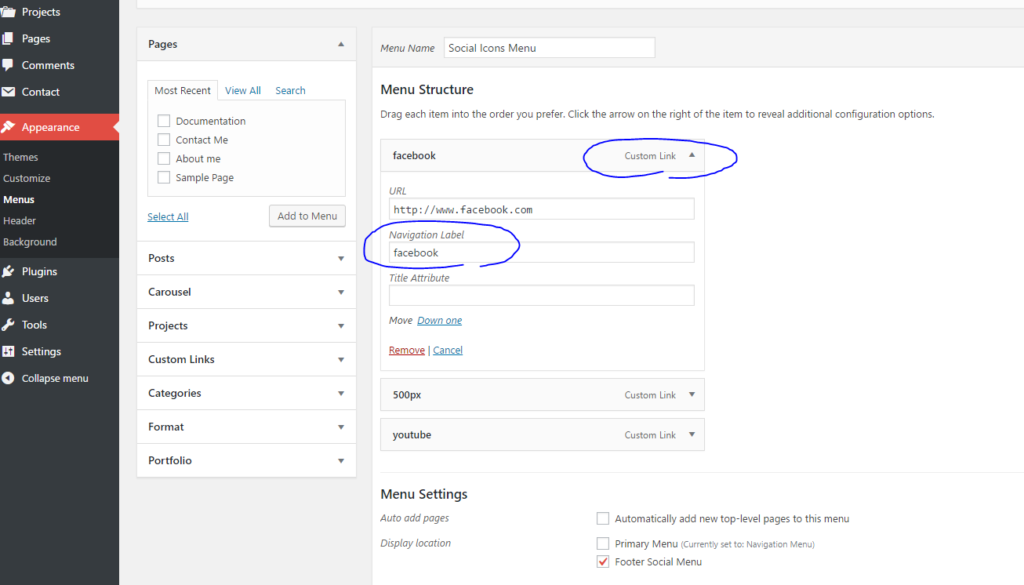
Theme Supports two menu locations: Primary Menu and Footer Social Menu.
1. Go to Appearance > Menus and Create New Menu with any Title (we use “Navigation Menu” on a screenshot below) and insert Items for your Portfolios, Projects or Pages and assign it to “Primary Menu” location. If you don`t have any Projects created yet, you can update menu any time later.
2. Create another menu for Social Icons for website footer and assign it to “Footer Social Menu” location. For each social media website insert Custom Link where URL is link to your social profile and Navigation Label is name of Font Awesome Icon. (mostly it is enough to just type in “facebook”, “instagram”, “500px”, etc). See on screenshot below.
Portfolio Setup
1. Create New Portfolio in WP Admin > Projects > Portfolios . Portfolio name is also Name of Filter on Main Page.
2. Create New Project in WP Admin > Projects > Add New Project.
3. Insert Feature Image to display Thumbnail on MainPage in Portfolio section, and you can insert Description and few others meta information like Date, Client, etc
About Page
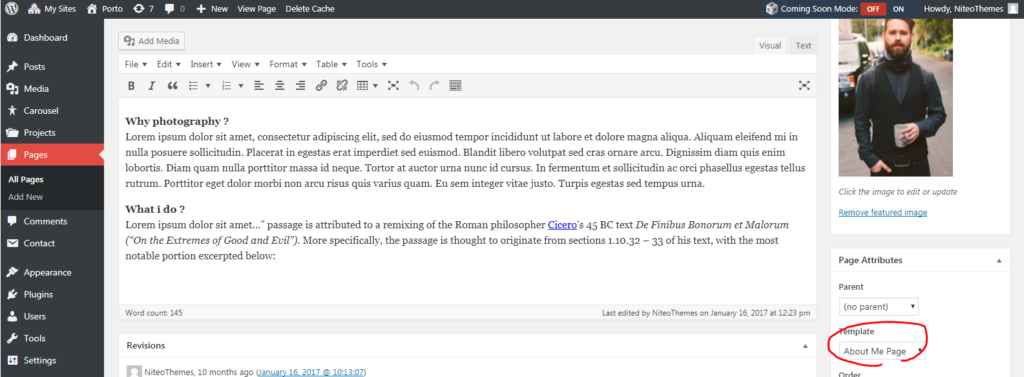
1. To create About Page go to Pages > click Add New and create new page. Insert any content you wish and set Featured Image to About Page to display custom photo.
2. Select About Me Page Template as a Template In Page Attributes.
Contact Page
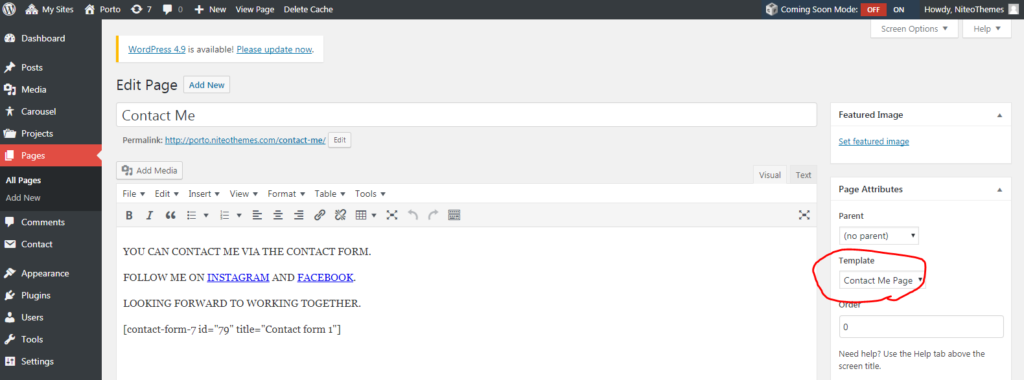
1. To create Contact Page go to Pages > click Add New and create new page. Insert any content together with Contact Form shortcode.
2. Select Contact Me Page Template as a Template In Page Attributes.
Google Analytics
1. To insert Code for Google Analytics we recommend install plugin Insert Headers and Footers and insert your custom GA code into Header. By this, you don`t loose any data when changing to different Theme.
Translation
1. Theme can be translated to any language. Translation file is in Theme/language folder, you can just simply edit the PO file. More info about translation is here.
That`s all. Thanks for looking, your Niteo.
